Many overseas customers ask about installation after purchasing a track turntable. This article explains the installation steps and precautions in detail.
The installation of a track turntable generally consists of two parts:
Track foundation construction
Track turntable installation
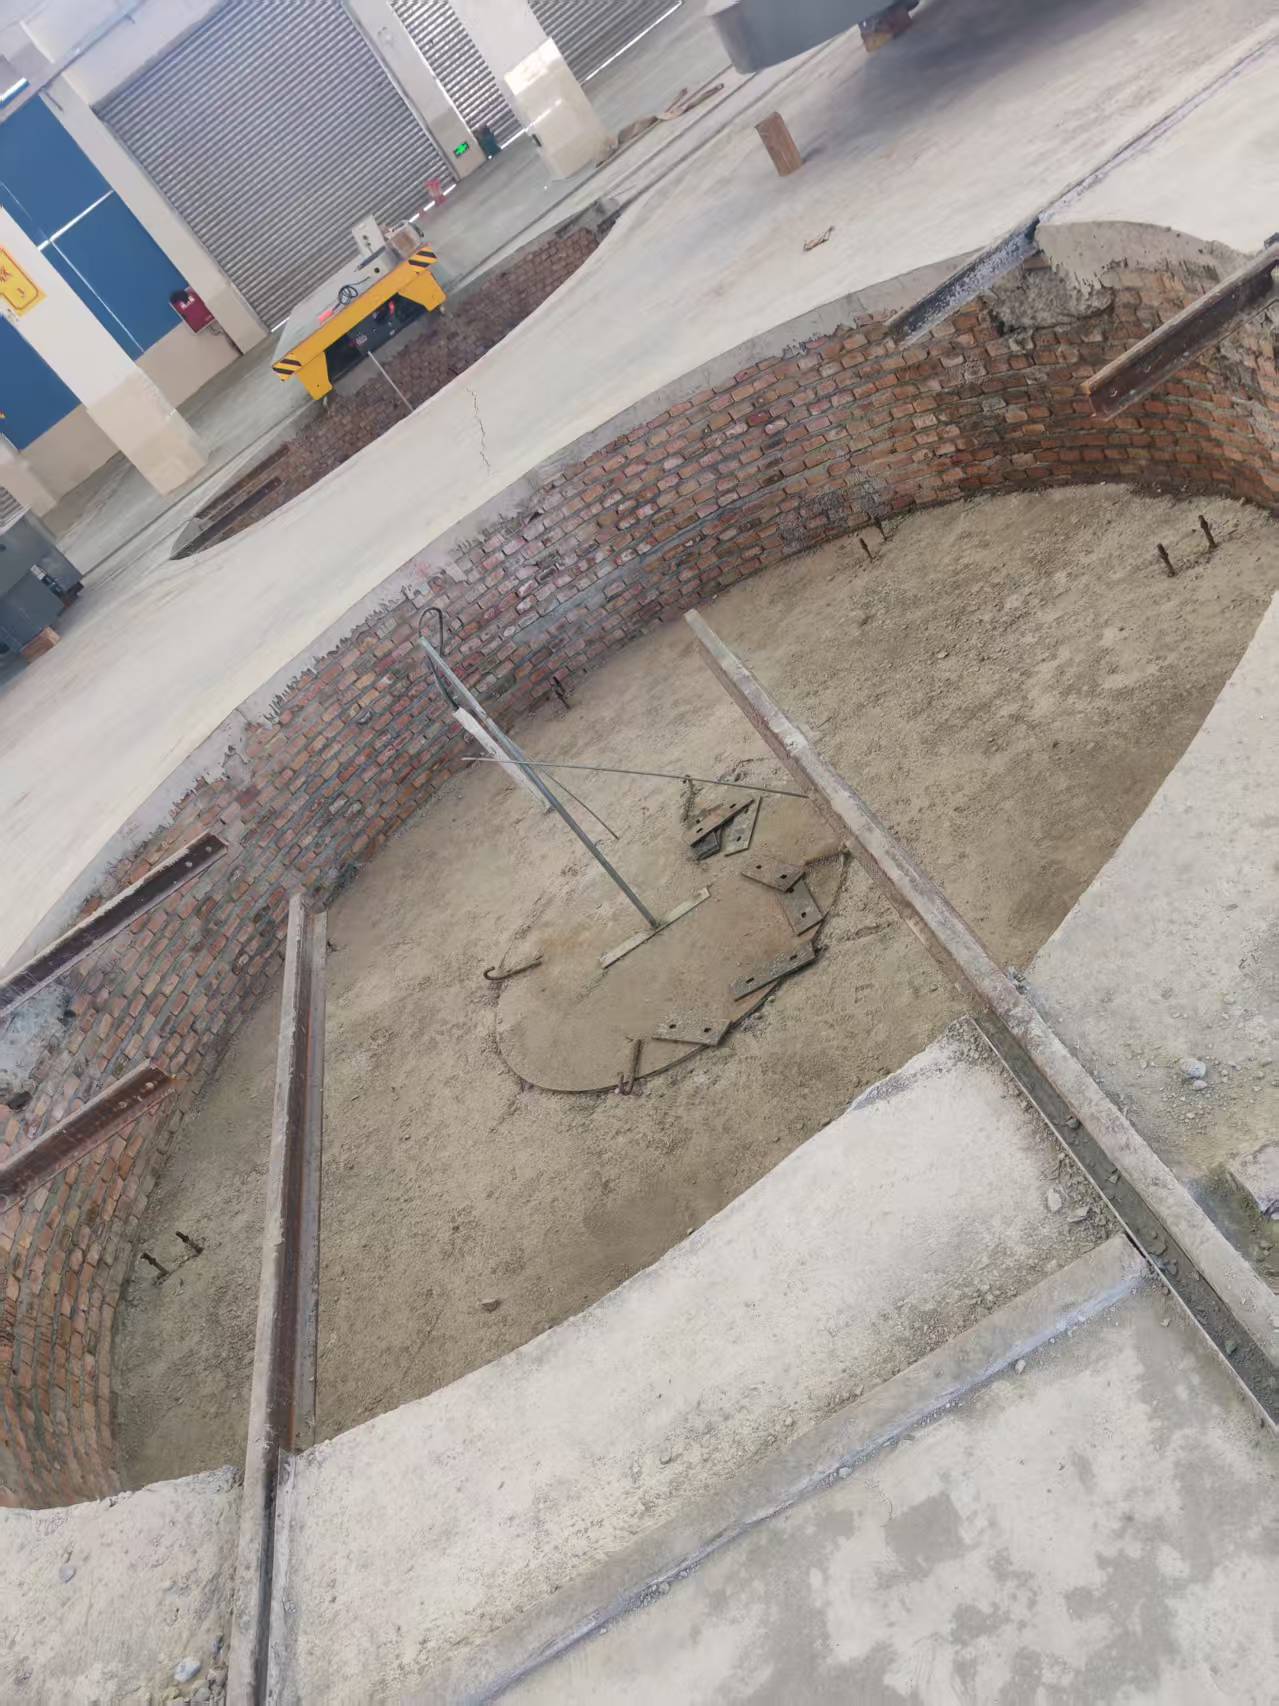
1. Track Foundation Construction
For track foundation construction, after purchasing the turntable, the supplier will provide the customer with a foundation construction drawing. The construction team can then carry out the work according to the drawing. We generally do not handle foundation construction. From a cost perspective, local construction teams are more cost-effective, and even factory workers can complete this work.
So, what issues should be noted during construction?
Do not forget to pre-embed the anchor bolts and the embedded steel plates.
The conduit should be arranged in a location that will not be affected by the track foundation.
If the turntable is used outdoors, drainage must be considered, and the drainage pipe location should be planned in advance.
Foundation construction is not difficult and is relatively easy to complete. If any problems are encountered during construction, you can contact the supplier for support.
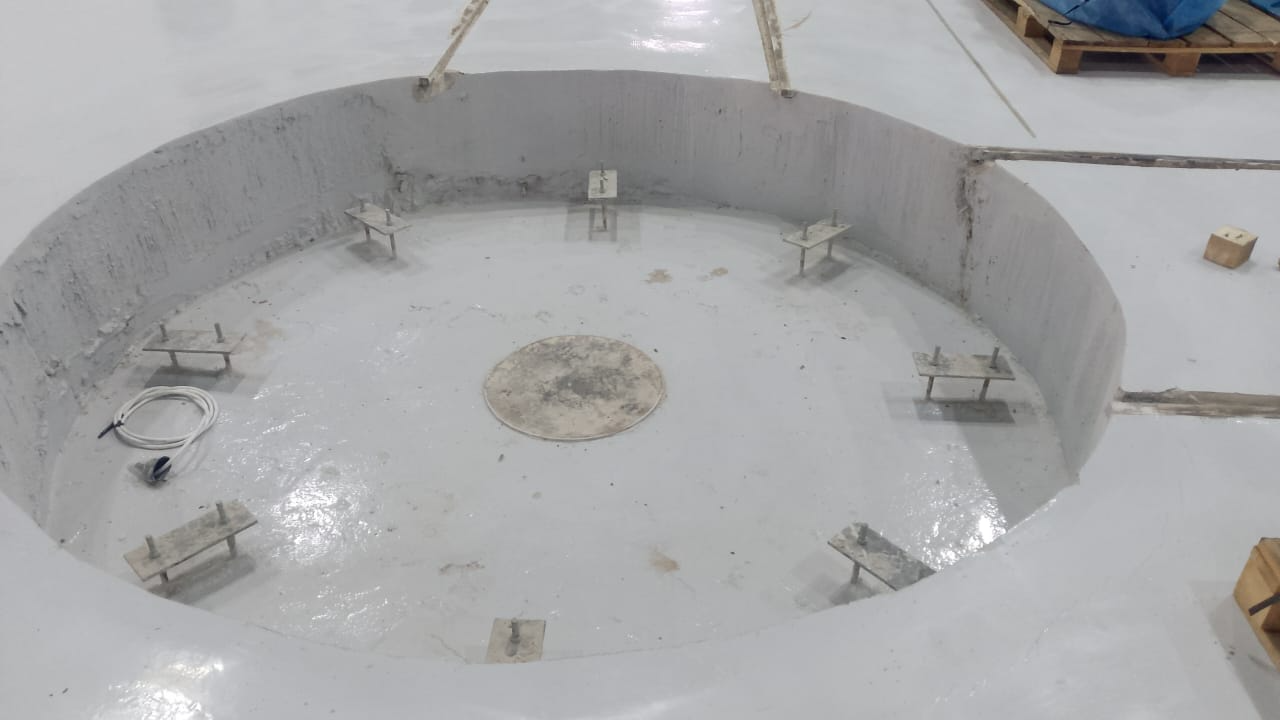
2. Track Turntable Installation Steps
If you are not familiar with the turntable, the first step is to assemble all turntable components in an open area and perform a test run. If everything works properly, then install it in the designated turntable pit.
Step 1: Prepare all parts
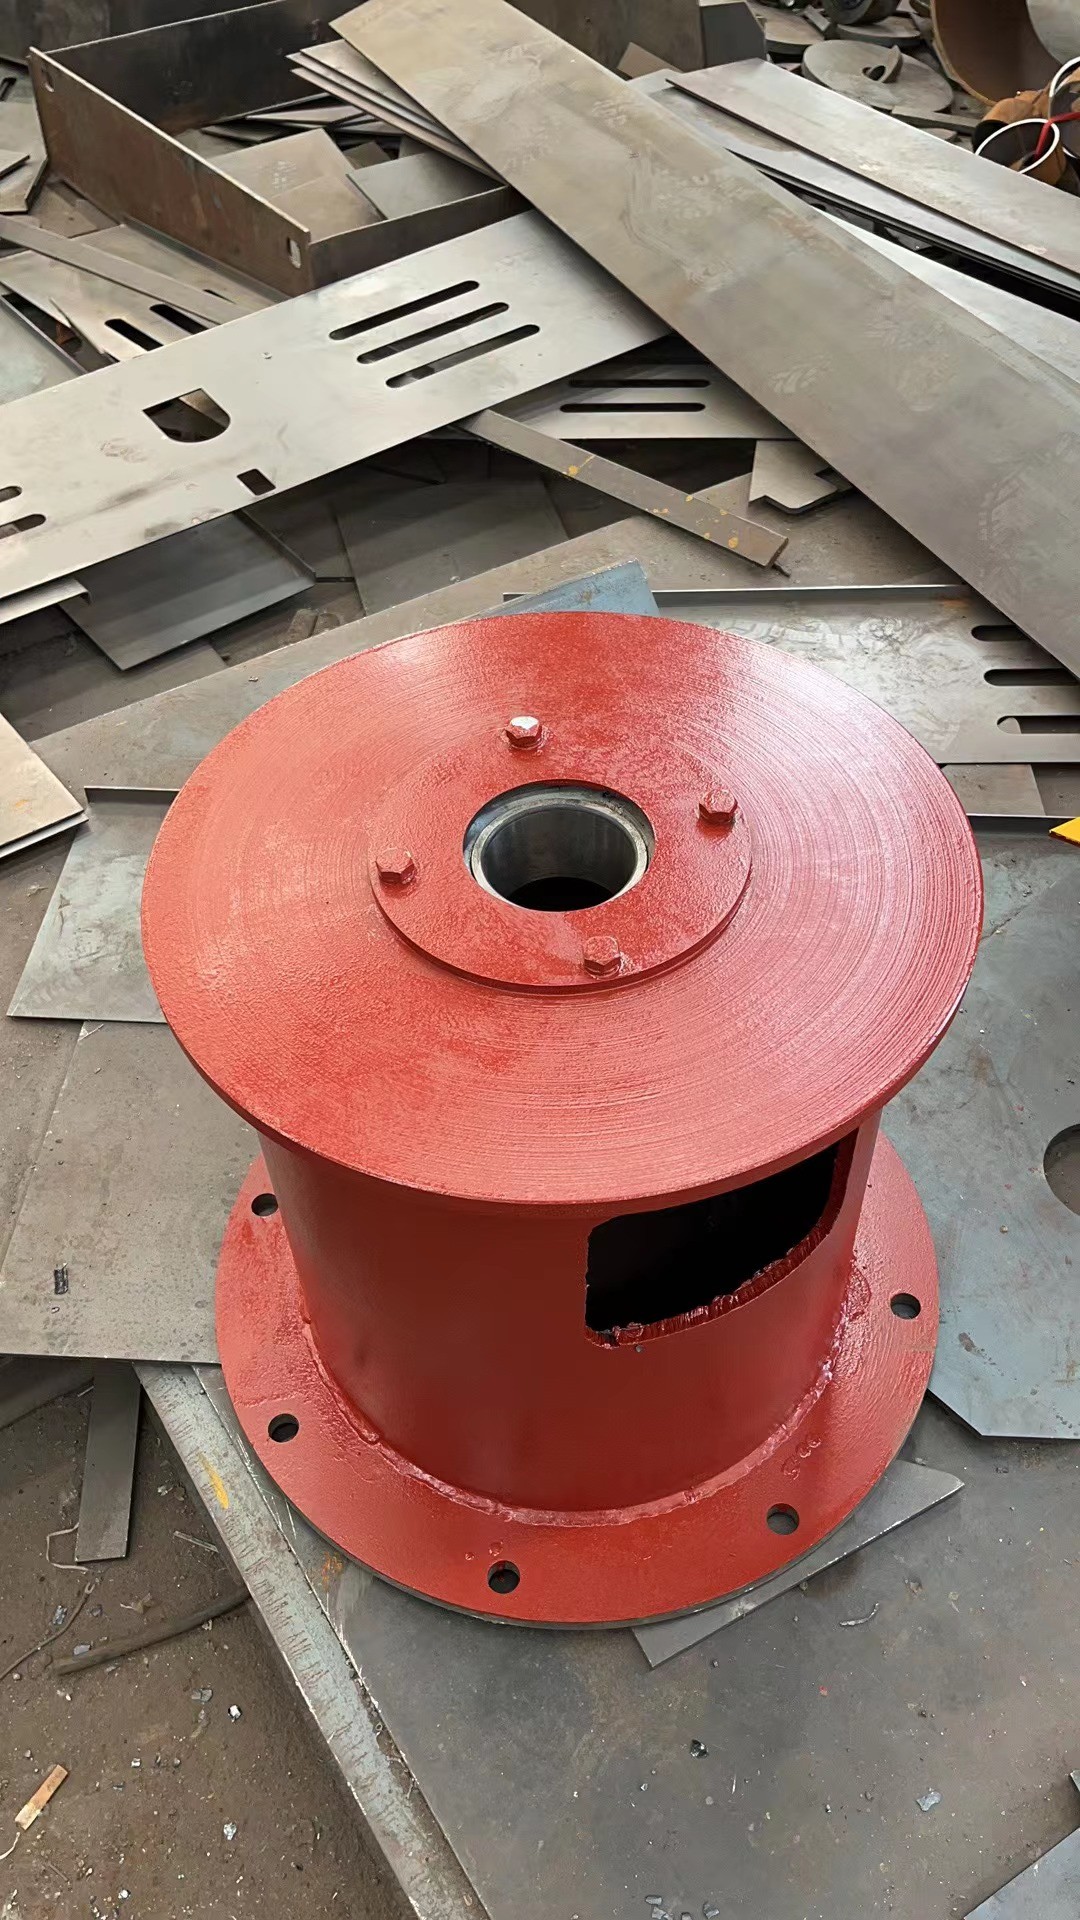
Prepare all parts, including the turntable frame, rails, central shaft (turntable core), limit switches, and electrical box.
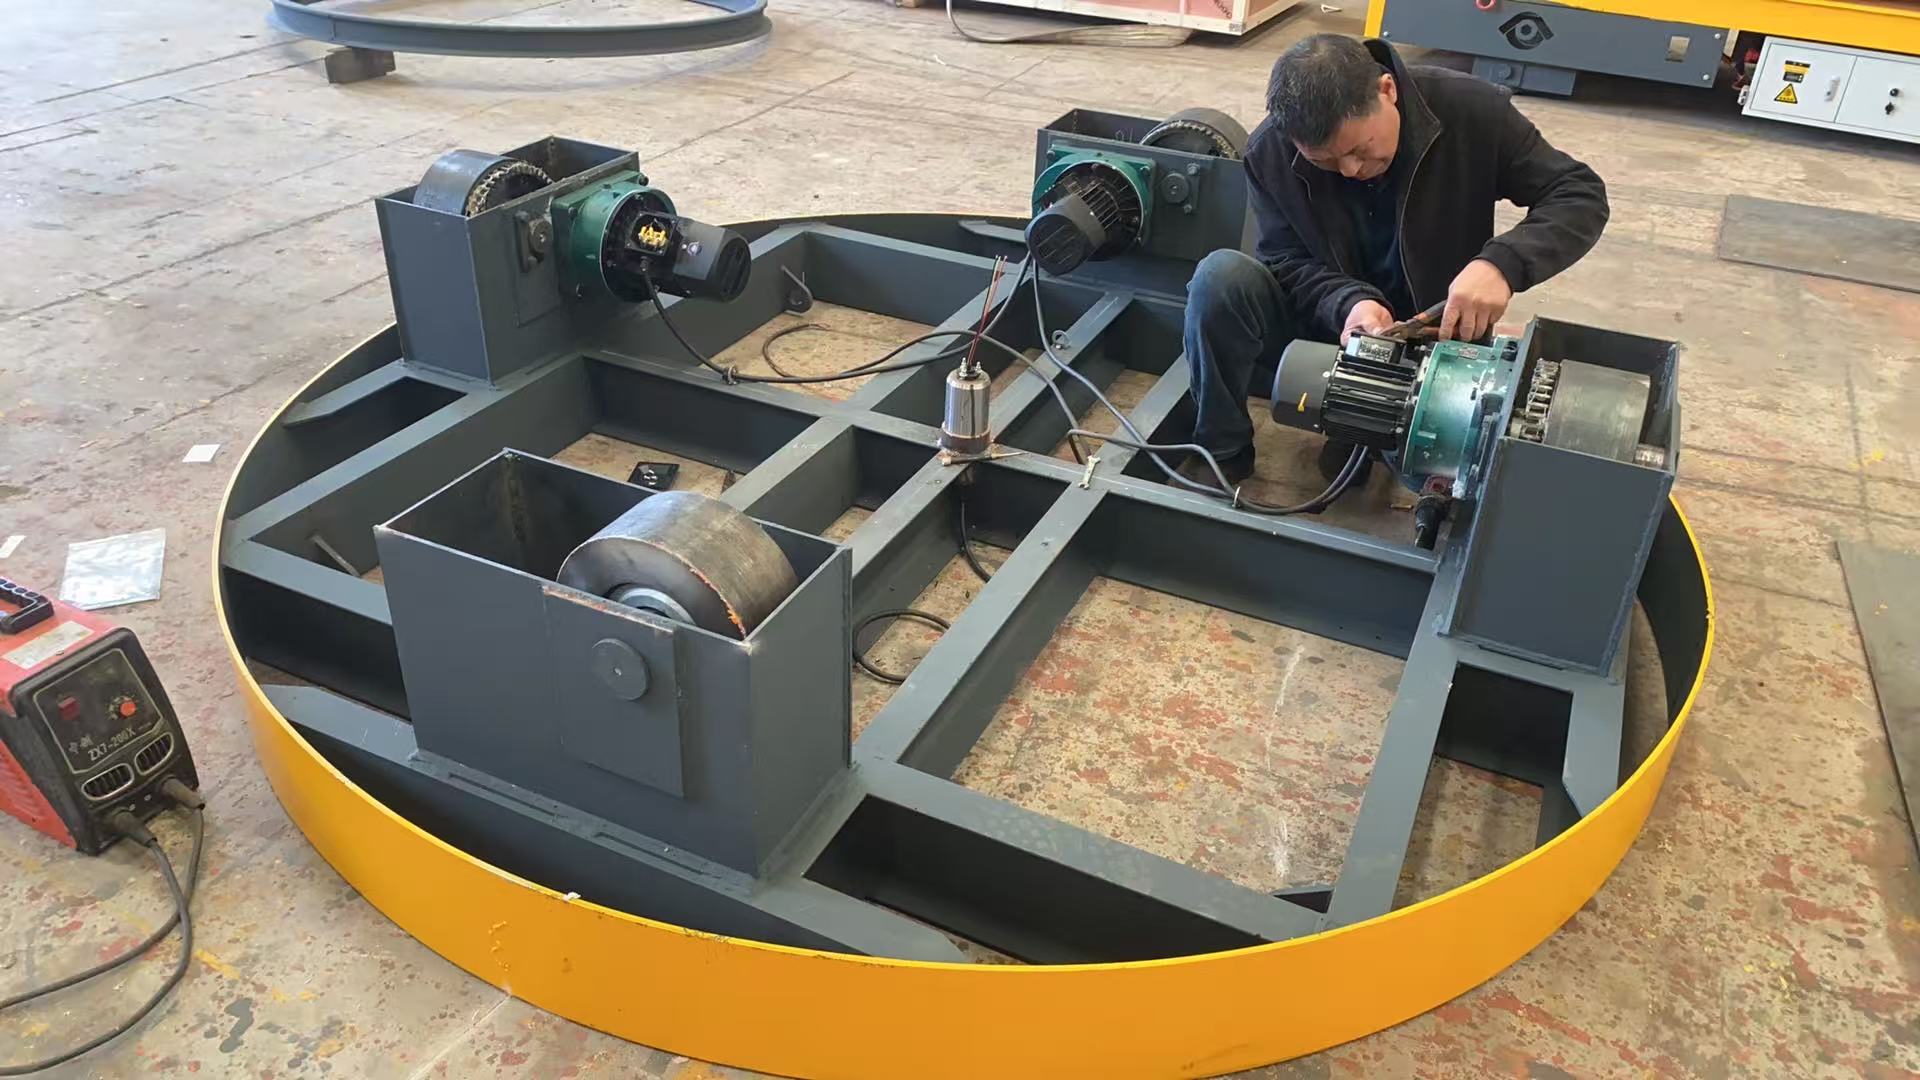
Step 2: Electrical connection
Connect each motor to the electrical box using cables, and then connect the electrical box to the AC power supply.
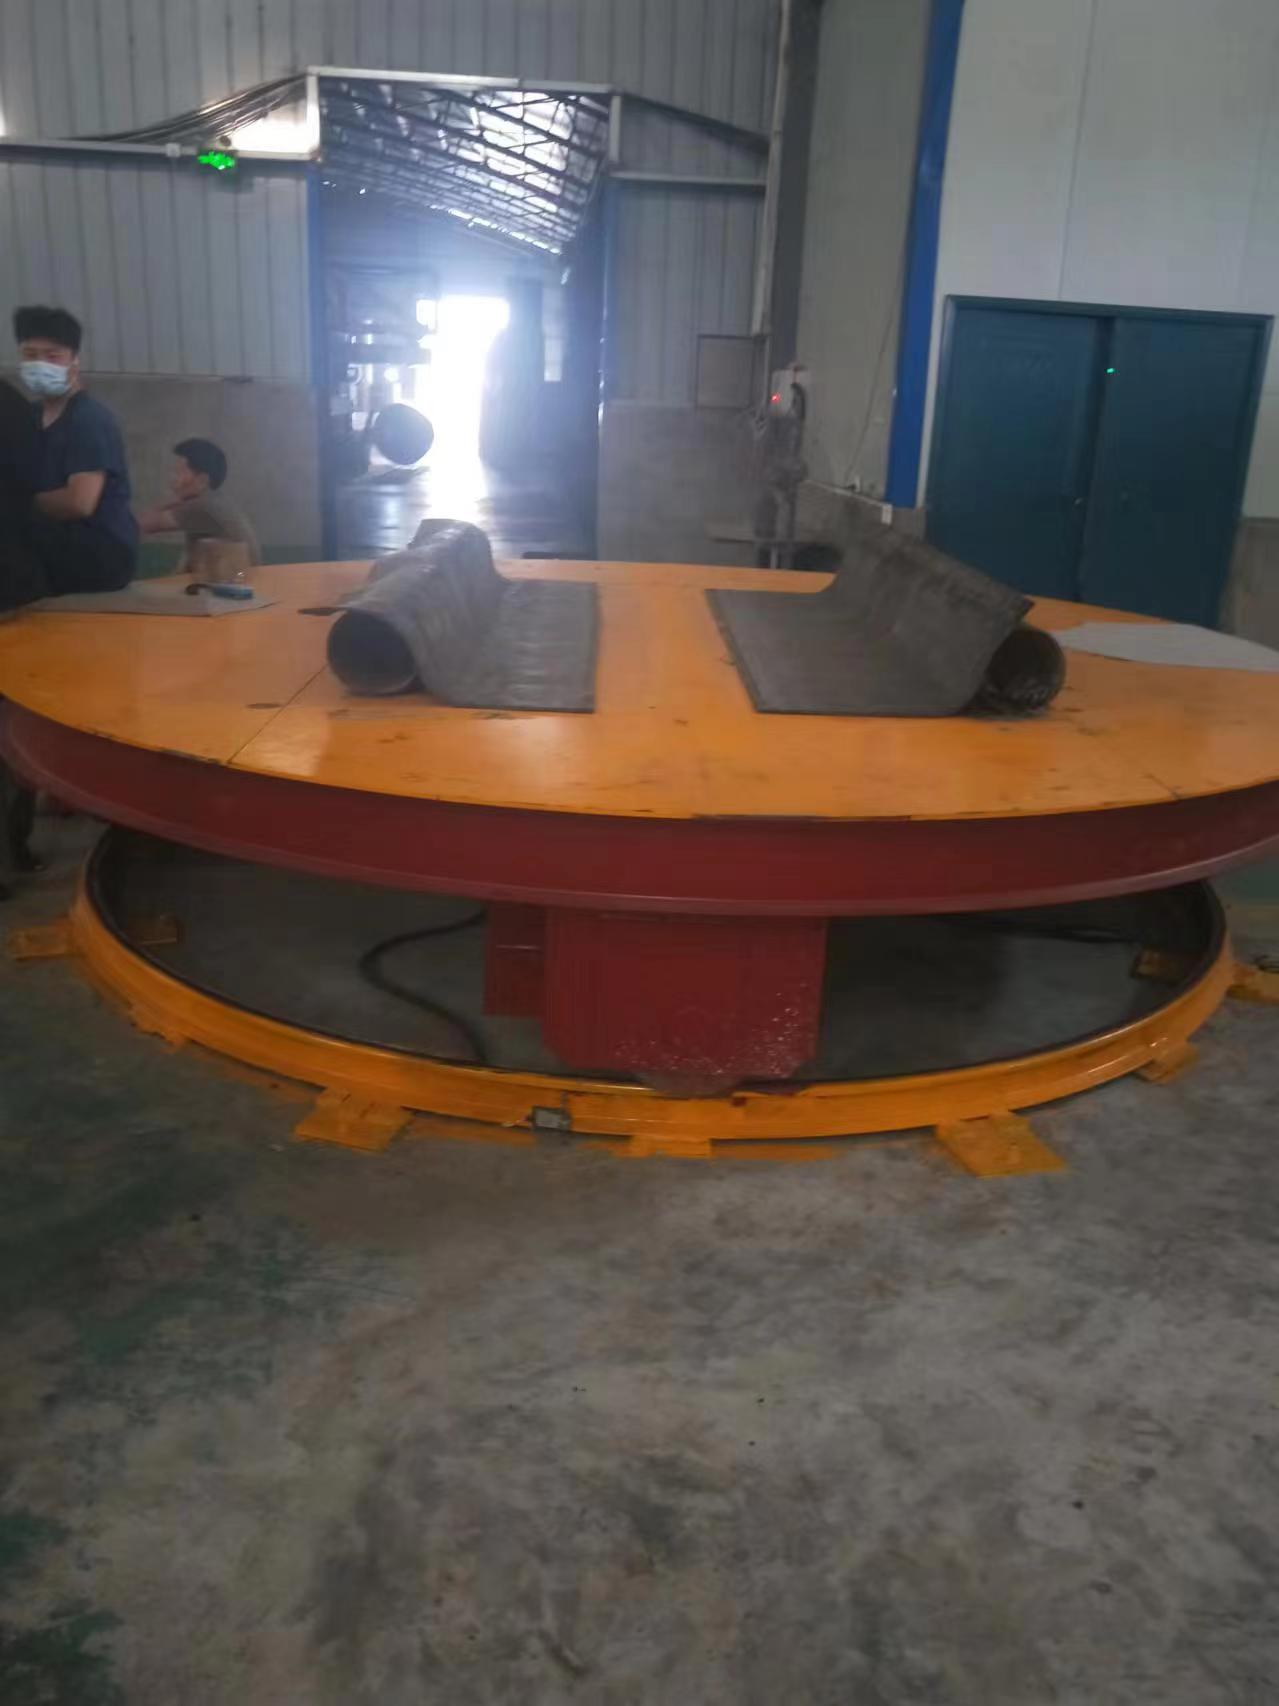
Step 3: Install the turntable body
Fix the turntable core in the center, place the turntable on top of the core, and then position the entire turntable onto the track.
Measure the foundation elevation (pit bottom height) and compare it with the actual height of the turntable. Adjust the rail height according to the measured difference.
Step 4: Level and fix the circular bottom rail
Level the circular bottom rail and fix it firmly. Make sure the rail is concentric with the foundation.
Step 5: Fix the central shaft
Fix the central shaft. The shaft height must be adjusted properly, and then welded onto the pre-embedded steel plate.
Step 6: Install and test the limit switch
Test the limit switch and install angle steel at the required stopping position. The angle steel should be slightly higher than the limit switch to ensure the limit switch can be triggered correctly.


